Heat Pump Installation Guide
Heat pumps are an efficient way to heat and cool homes, especially in the varied climate of North Georgia. While installing a heat pump might seem daunting, understanding the process can demystify it. This guide, brought to you by Climatrol Air, provides a comprehensive look at DIY heat pump installation, with an emphasis on the importance of initial consultations and inspections by licensed HVAC technicians.
Before the Heat Pump Installation: Identify Your Goals
Before embarking on a DIY heat pump installation, it’s important to identify your heating and cooling goals. Consider factors like energy efficiency, the size of your home, and your budget. In North Georgia, where temperatures can fluctuate significantly, selecting a heat pump that can handle diverse conditions is crucial.
Start with a Consultation and Inspection by a Licensed HVAC Technician
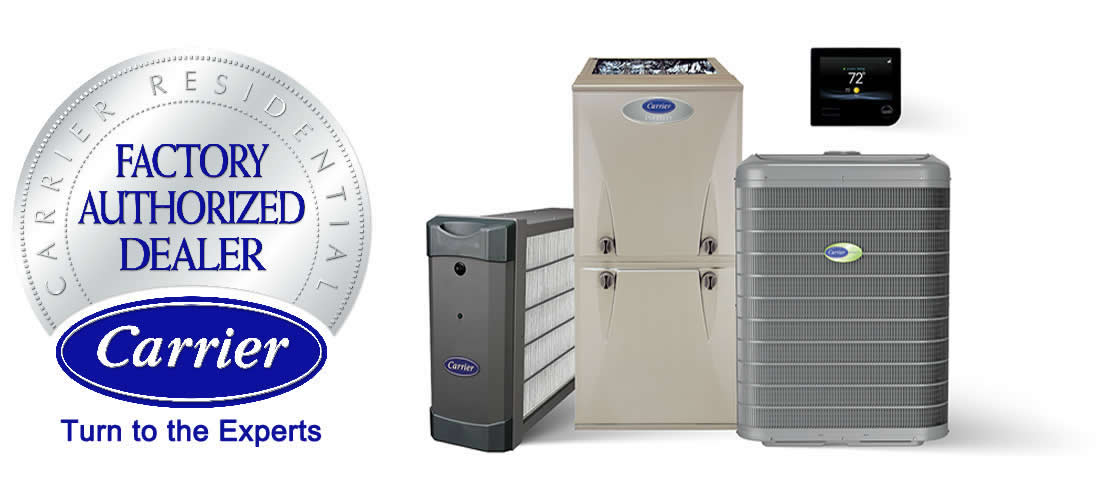
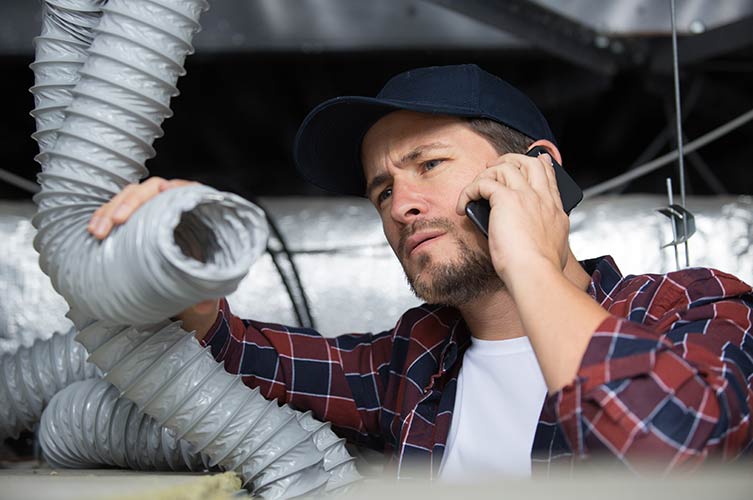
Even if you’re planning a DIY installation, it’s advisable to start with a consultation and inspection by a licensed and trained HVAC technician. A professional can assess your home’s specific needs, ensuring you choose the right heat pump. Climatrol Air offers consultation services to help you make informed decisions, particularly when it comes to selecting Carrier HVAC products, known for their reliability and efficiency.
Technician Determines the Properly Sized Heat Pump for Your Home
The right size of the heat pump is critical for efficiency and comfort. A unit that’s too large or too small for your space can lead to inefficiencies and increased costs. A Climatrol Air technician can determine the appropriately sized Carrier heat pump for your home, ensuring optimal performance.
Follow These 10 Steps for Heat Pump Installation
- Thorough Inspection of Your Home: Before installation, inspect your home to determine the best location for both the indoor and outdoor units. Consider factors like airflow, space, and proximity to electrical sources.
- Move New Unit to Final Location: Carefully move the new heat pump to its designated location. Ensure it’s easily accessible and has enough space for installation and maintenance.
- Carefully Remove Packaging: Remove all packaging materials while handling the unit delicately to avoid any damage.
- Inspect Unit: Once unpacked, inspect the unit for any signs of damage or defects, which are important to identify before proceeding with the installation.
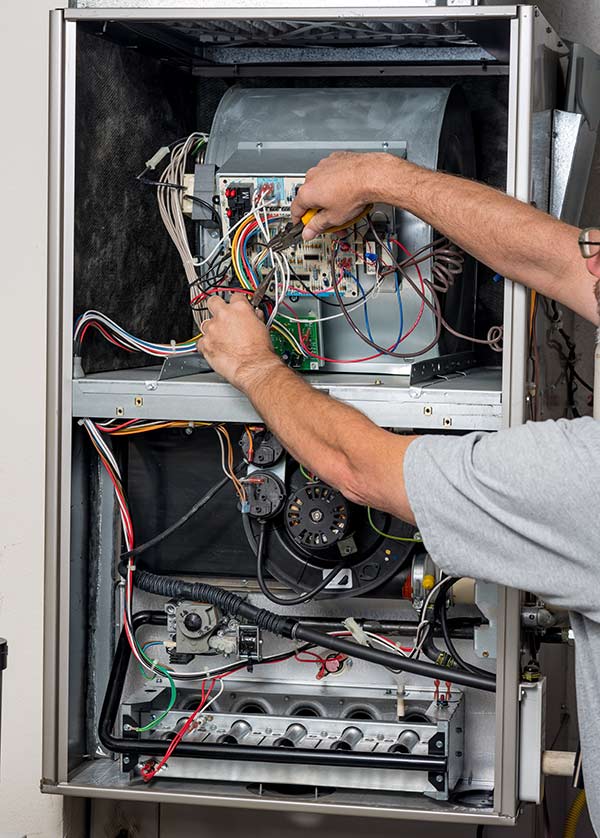
- Install Indoor Unit and Create Access Points Inside Your Home: Install the indoor unit according to the manufacturer’s instructions. This typically involves creating access points for piping and wiring.
- Connect the Unit’s Outside Piping to the Indoor Unit: This step requires precision and understanding of the heat pump’s mechanical system. Ensure all connections are secure and leak-free.
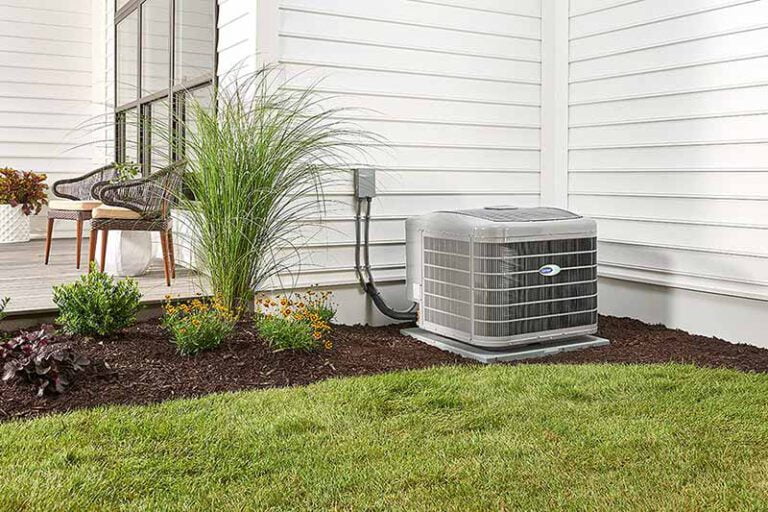
- Install Outdoor Unit: Place the outdoor unit in a stable, level area with adequate space for airflow. Make sure it’s positioned away from any obstructions.
- Connect Wires and Electrical Components: Carefully connect all electrical components. This step should be done with utmost caution and, if possible, with guidance from a professional to avoid any electrical hazards.
- Finalize Details: Double-check all connections, fastenings, and settings. Ensure everything is secure and properly aligned.
- Perform Testing: Once installed, test the heat pump to ensure it’s operating correctly. Check for any unusual noises, and ensure the system is heating and cooling as expected.
Additional Considerations for DIY Heat Pump Installation
- Understanding Local Regulations: Be aware of local building codes and regulations in North Georgia. Some aspects of HVAC installation may require professional handling or permits.
- Safety Precautions: Always prioritize safety when handling electrical and mechanical components.
- Carrier Product Specifics: If you’re installing a Carrier product, ensure you follow the specific guidelines provided by the manufacturer, as Carrier systems may have unique features and requirements.
Conclusion
DIY heat pump installation can be a rewarding project, but it’s important to approach it with careful planning and consideration. Starting with a professional consultation, like those offered by Climatrol Air, can set the foundation for a successful installation. Remember, while DIY projects can be fulfilling, there’s no substitute for professional expertise, especially when dealing with complex systems like those from Carrier. For the best results and peace of mind, consider enlisting the help of Climatrol Air, where our expertise in Carrier products ensures your heat pump installation is handled professionally and efficiently.