How do I troubleshoot my HVAC system?
Ah, the age-old question many homeowners face: “Why is my HVAC system acting up?” Whether it’s the sweltering heat of summer or the bone-chilling cold of winter, when your HVAC isn’t cooperating, it’s a big deal. But don’t worry! We’re here to help guide you through the basics of troubleshooting some common HVAC problems.
The Usual Suspects
Let’s begin by diving into some of the most common reasons your HVAC system might be misbehaving. We’ll break it down into two categories: Air Conditioning issues and Heating and Furnace issues.
Air Conditioning Issues:
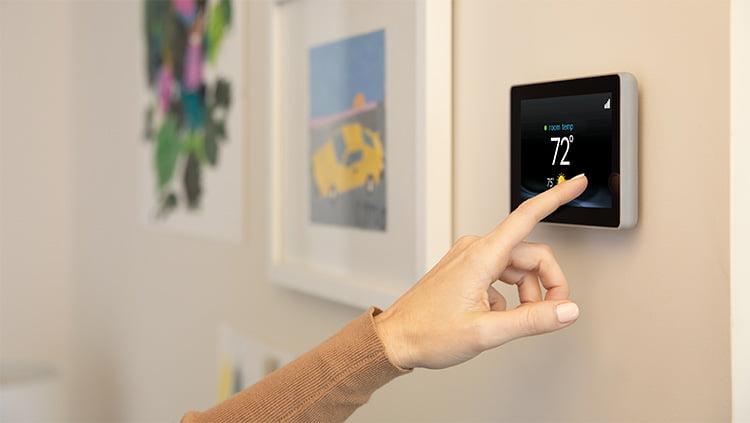
- Thermostat Settings: The simplest explanation could be the settings on your thermostat.
- Circuit Breaker Tripped: If the air conditioner unit won’t turn on, a circuit breaker might’ve tripped.
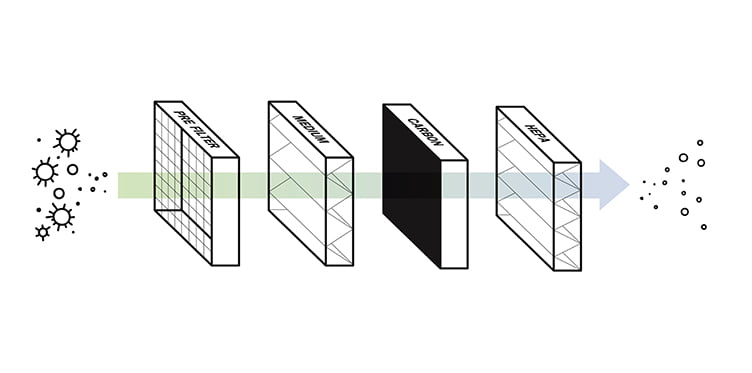
- Dirty or Clogged Air Filter: A dirty filter can restrict airflow and affect performance.
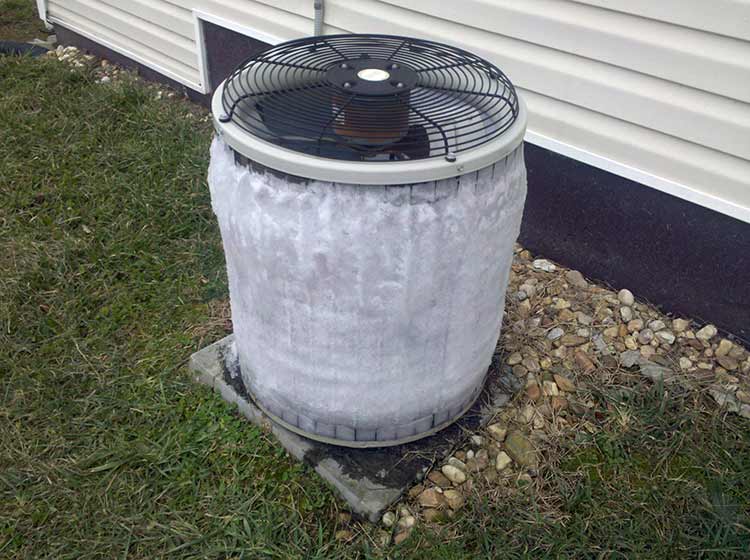
- Frozen Evaporator Coils: Poor airflow or low refrigerant can cause these coils to freeze.
- Refrigerant Leaks: Leaks can reduce the system’s efficiency and cooling capacity.
Heating and Furnace Issues:
- Thermostat Settings: Yes, it strikes again! Always check that your settings are in ‘heat’ mode.
- Pilot Light or Ignition Problems: A furnace might not produce heat if there are ignition issues.
- Dirty or Clogged Air Filter: Just like with AC, a dirty filter can hamper a furnace’s performance.
- Frequent Cycling: This can be due to a malfunctioning thermostat, poor airflow, or other issues.
- Blower Continuously Runs: Problems with the limit switch could be the cause.
Now, Let’s Play Detective
To identify these issues, follow these basic steps:
- Thermostat Check: Ensure it’s set to the right mode (cooling or heating) and the desired temperature. If it’s a digital thermostat, check if the batteries need replacement.
- Circuit Breaker: Head to your electrical panel and check if the breaker for the HVAC system has tripped. If it has, reset it. However, if it trips again soon after, there might be a bigger problem.
- Examine the Air Filter: Slide out the filter and check if it’s dirty. If it is, replace it. Ideally, filters should be checked monthly and replaced at least every 3 months.
- Inspect Outdoor Units: Ensure there’s no debris or obstruction around your outdoor AC unit. For furnaces, see if the pilot light is on (for older models) or if the ignition system is working (for newer models).
- Listen: Turn on your system and listen. Odd noises can often hint at issues. Grinding, buzzing, or rattling might indicate something’s amiss.
A Good Reason to Call a Professional
Here’s the thing: while DIY troubleshooting is great for basic issues, HVAC systems are complex machines. Not only could you unintentionally cause more damage if you’re unfamiliar with the system, but you could also put yourself at risk.
Professional technicians have the experience, tools, and knowledge to diagnose and address HVAC issues efficiently and safely. Moreover, they can spot potential problems that you might miss, saving you time, stress, and potentially costly future repairs.
Remember, your comfort and safety are paramount. So, if you’re unsure at any point, don’t hesitate to reach out to an expert – like your friendly neighborhood Carrier factory authorized HVAC professional.
le often look for guidance on identifying and fixing common HVAC problems.